
Top Tooling Tips to Ensure the Perfect Plastic Parts
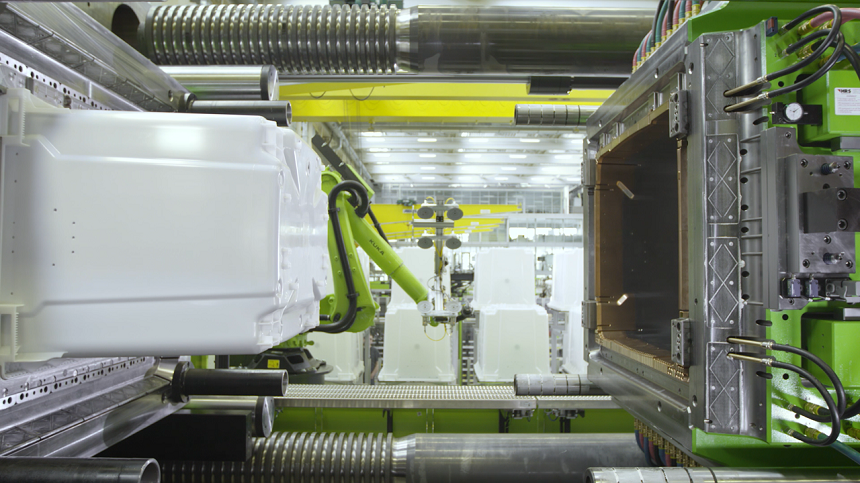
Plastic injection molding is a popular manufacturing method for producing new products. With thousands of resins available, there’s no denying that injection molding is a process you should consider for your product idea.
While the plastic resin gets all the credit, there’s a workhorse in the background ensuring your products come to life — the tooling does the hard workday in and day out. If you want to ensure perfect plastic parts, your tooling needs to be top-notch.
As one of the leading plastic injection molding companies, we discuss top tooling tips to ensure perfect plastic parts:
Avoid undercuts in the tooling
When the opening/closing of the tool doesn’t allow the formation of a feature, it’s known as an undercut in the injection molding tool. In such cases, using a slider and lifter to form the feature is recommended. The slider and lifter may form complex shapes while still allowing the part to be removed from the injection mold.
Reduce strengthening rib sizes
While strengthening ribs have a purpose, having too large of a feature may create more issues. There are three main design considerations for every rib: the overall thickness, the rib height, and the base thickness.
To reduce the possibility of a sink mark on the surface, the rib height must be as short as possible. For rib height, the standard is to ensure it’s less than 3x the thickness of the part. So, for example, the rib should be 3.0mm or less in height if your part is 1.0mm thick. The overall thickness will be smaller than the thickness of the base, which is directly related to the draft angle. Since more isn’t always better for strengthening ribs, using them sparingly makes sense.
Pick ‘acceptable’ molding defects
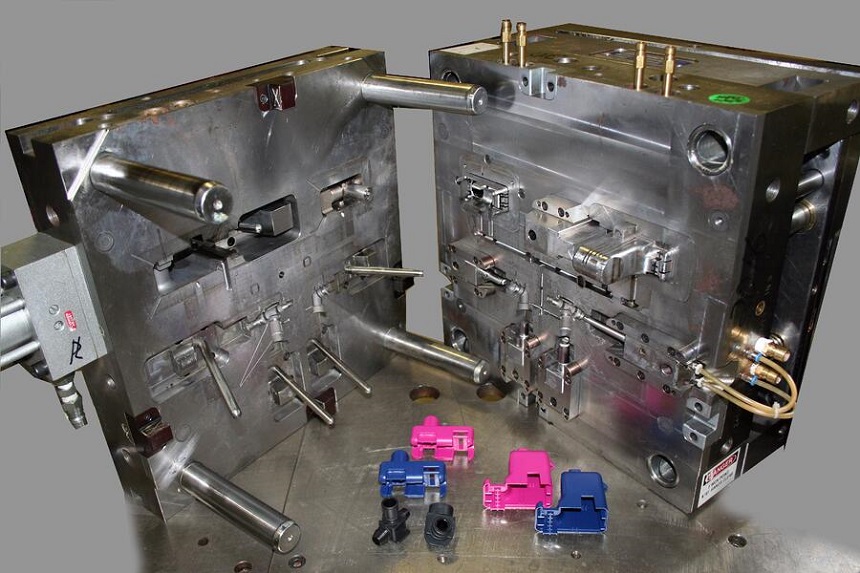
Defects are common in injection molding. There are two halves to the injection mold that must come together. At this point, there’s a chance of a parting line at the interface. There can be sinks on thicker sections of the mold, which may be caused by bosses designed into the backside of the surface. While advanced molding conditions can limit some defects, negating everything isn’t possible.
You may select a surface finish or move features to ‘hidden’ locations on the part. Pick what defects will be and won’t be acceptable and then design the part around their limitations.
Design resin flow from thick to thin sections
In some cases, designing these parts requires thicker sections for strength and structure. When molten resin flows through the injection mold, it loses temperature and pressure. A mold that flows to a large wall thickness from a thinner section will face difficulty in filling far away from the gate when resin makes its way into the mold. The resin should flow to the thinner sections last and gates must be positioned at the thicker sections of the part design.
Add a radius if possible
Sharp corners trap air. So, if possible, you should avoid sharp corners in your injection molded part. Using a radius, you can ease transitions and ensure your part can be safely removed from the injection mold.
Add drafting to your parts
Adding a draft angle (drafting) helps your parts to be released from the injection mold. When it comes to draft angles, use at least 3° with a textured mold surface and a minimum of 1° on an untextured mold. This will help you release your parts from the mold without having to force them out.
Your client may want a design that needs a tight mating area. In such cases, localizing the zero-draft area as close to the mating portion can help.
Design your parts keeping uniformity into consideration
The method of forcing liquid resin into the mold’s two halves is known as injection molding. Any changes or restrictions in the thickness of your parts may affect the flow, which may lead to other negative effects. So, keeping the thickness constant (approximately between 2mm to 3mm) can help. Designing parts with thicknesses larger than 4mm and lesser than 1mm isn’t recommended as it’ll lead to more issues.
Choose the right surface finish for the design
Beyond the visual appeal, the surface finish has a variety of functions. However, before you start choosing the final surface finish, you should decide what class of mold you need based on the material the mold will be made from and production volume.
Compared to an aluminum mold, a steel mold will be harder and provide more options for surface finish. There’s an advantage with steel — you can polish it for a smoother surface finish. This may also be beneficial for painting or some other secondary turnkey operation to improve your project. Following are some finishes available:
- Mirror or lens finish
- Satin, matte, or gloss polish
- Blasted for a rough uniform texture
- Etched with a logo
- Prepared for secondary graphics or painting
- Leathery texture simulating grain
- Patterned or geometric shapes
Product texture and surface finish have multiple advantages. For example, they can hide parting lies and make undercut. A strategic finish or texture in those areas may hide, or at least blend, the parting lines. Besides visual appeal, a texture may enable gases to escape the mold during the injection process, provide improved paint adhesion, and enhance grip. To allow for proper design in the mold, the surface finish must be decided very early on.
PTMS is a leading plastic injection molding manufacturer that makes custom injection molding with advanced injection machines
As the finest plastic injection molding company in China, PTMS can mass-produce plastic injection molding parts for customers all around the world.
We’re an ISO 9001-2008 certified company and are extremely strict with the product quality.
Get in touch with us for more information on our plastic injection molding services!